Sunday, April 12, 2020

How to create a YouTube Business account: a step-by-step guide With H4-Hussain

H4-Hussain "

How to create a YouTube Business account: a step-by-step guide


How to Create A YouTube Business Account

  1. Sign into an existing Google account, or create a new, dedicated account specifically for your YouTube business account.
  2. Once you’ve created your Google account, make your way over to YouTube’s homepage.
  3. On the YouTube homepage, click on the avatar icon within the top right corner of the screen.
  4. Click on “My channel” from the drop-down options.
  5. For personal YouTube account creation, input your first and last name into the required fields. For YouTube for Business account creation, click “Use a business or other name” which will lead you to a screen where you can enter your brand’s name.
  6. Click “Create” to activate your new YouTube account.
 STEP#1

STEP#2

Once you’ve created your Google account, make your way over to YouTube’s homepage. To begin customizing your channel, click on the avatar icon on the top right corner of the screen. Click on “My channel” from the drop-down options.


 STEP#3

You’ll then be prompted by the following screen which asks for your first and last name. Notice that YouTube also gives you the option of using a business or product name for your channel as noted earlier. 


 STEP#4

Unless you’re a solo business owner that wants to be associated with a personal brand, creating your channel as a dedicated business account makes more sense.
Click “Use a business or other name” which will lead you to a screen where you can enter your brand’s name. The name you choose will be the one associated with your YouTube business account.


STEP#5
 
Now that you know how to create a YouTube account, it’s time to make your channel a bit less bare-bones. Below we’ve outlined the steps to fine-tuning your channel to attract attention from viewers and search engines alike.

Filling out the details of your YouTube business account

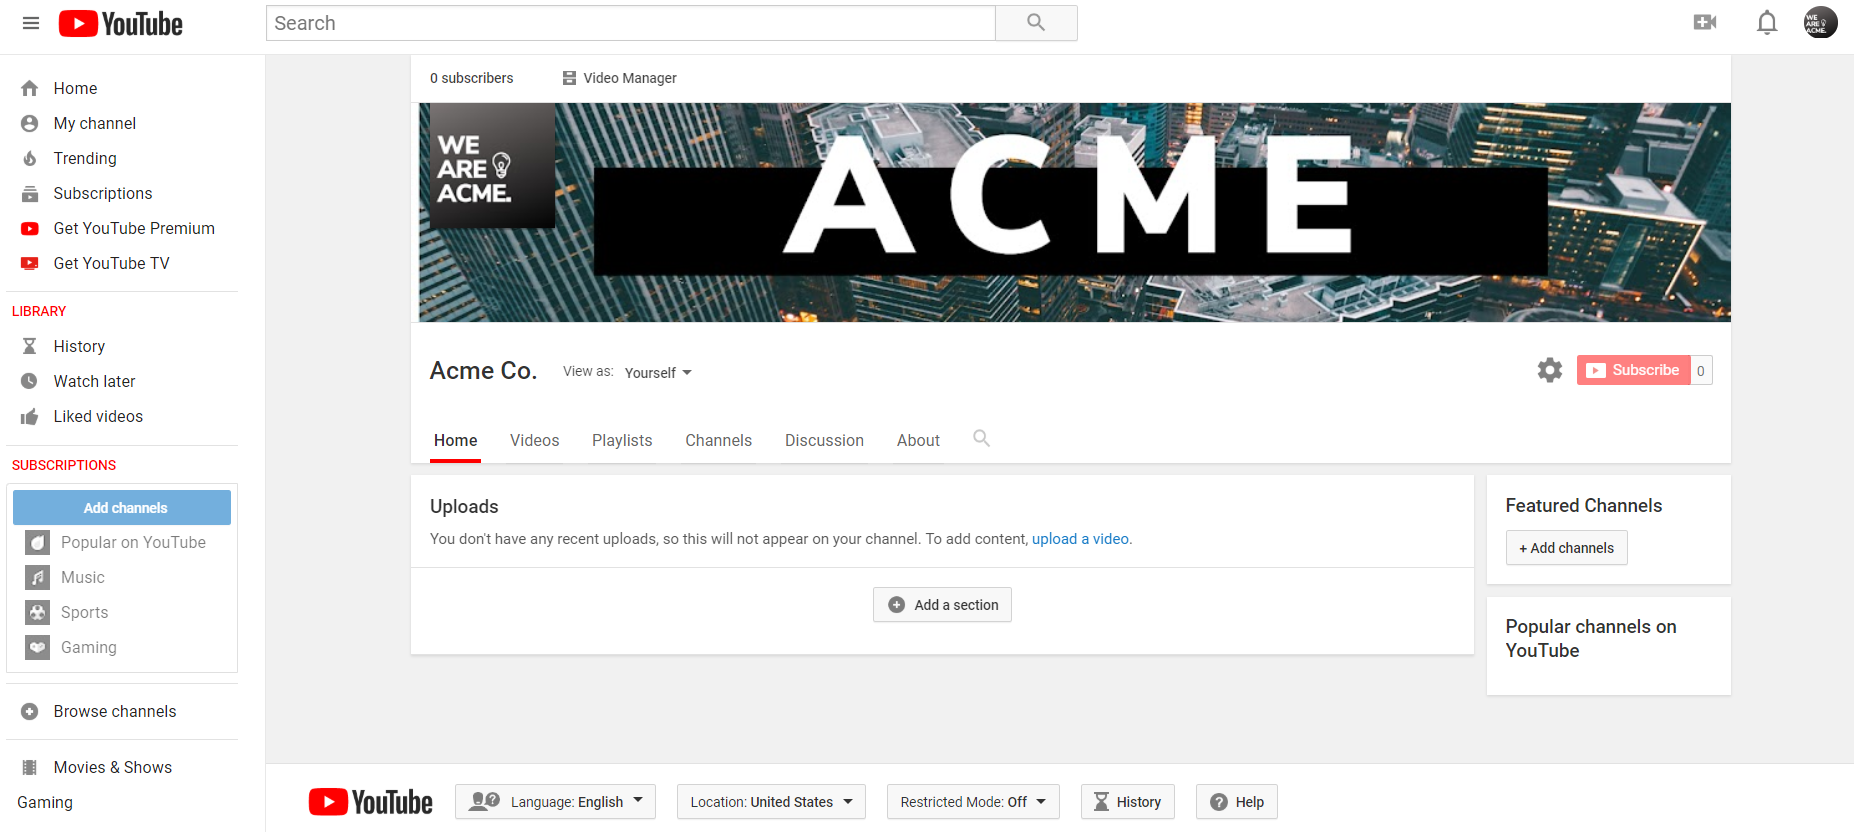
There are many moving pieces to any given YouTube channel, but the following information will represent some must-dos for brands.
Click on the “Customize Channel” link. You’ll be presented with the following screen which clues you on what your channel needs to appear more complete.


 STEP#6

Channel icon and artwork

Before anyone actually views your video content, make sure that you’ve crafted imagery for your channel that clicks with your brand. Just as you have a dedicated icon and banner for the likes of Facebook or Twitter, YouTube is no different.
The dimensions for YouTube images are as follows:
  • Channel icon: recommended as 800×800 pixels, displays as 98×98 pixels
  • Channel banner: 2,560×1440 pixels, safe area for mobile and web (without text and logo cropping) is 1546 x 423 pixels.
Since these dimensions are relatively large, you need to use high-res images rather than pictures that could get cut off or distorted. This is where resources such as Canva are invaluable as you can craft such images in a matter of minutes thanks to their ready-to-go templates tailor-made for YouTube channels.


STEP#7


Let’s start with our channel icon. When you go to change your icon
 for the first time, you’ll be provided the following prompt. 
STEP#8


And here’s the end result of updating our sample channel’s imagery after whipping up a couple of quick examples in Canva.

STEP#9 
 
If you want to figure out how to create a YouTube business account that performs, you need professional brand creatives

FOR EXAMPLE :
 
There is no bla:ket approach to YouTube images – this means you have plenty of creative freedom with your channel. Here’s a beautiful example from Mint, including a minimalist logo and cartoony banner which are both in line with their branding.
If you're looking for inspiration for how to create a YouTube account that's optimized, just take a look at Mint's channel
It may take some experimenting to get your YouTube business channel’s images to your liking, but taking the time to make your channel aesthetically pleasing is definitely worth it.
However, your YouTube channel isn’t quite 100% yet: it’s time to fill out some key details.
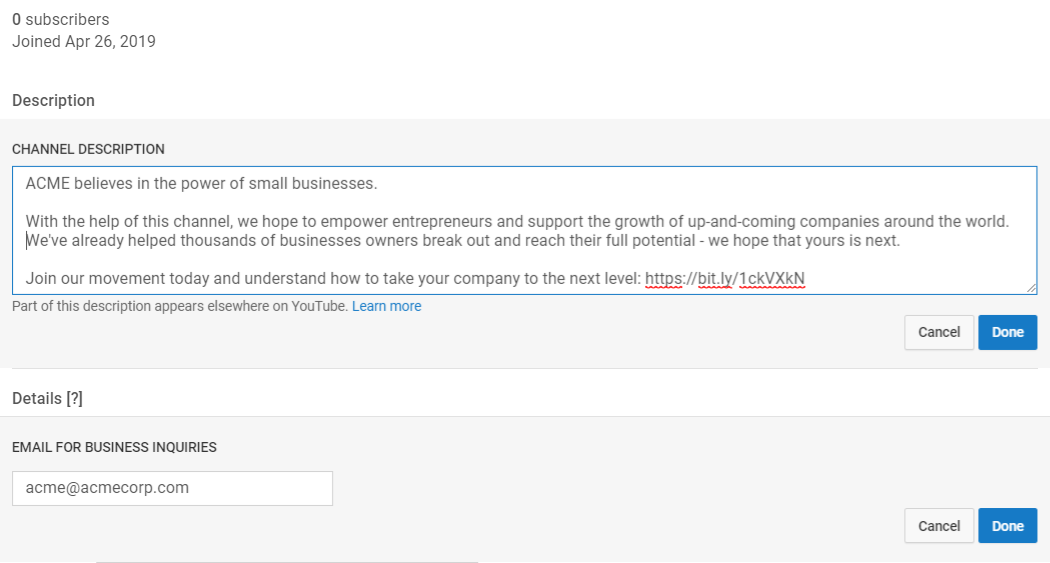
Channel description

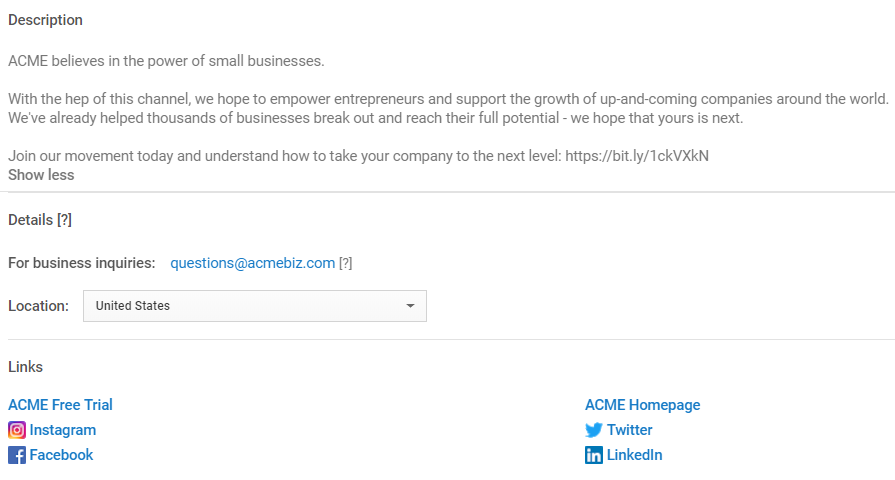
Easy to overlook, the “About” section of your profile is a crucial piece of figuring out how to create a YouTube channel that actually results in long-term leads and followers. Not only is this a place to make a personal impression of your viewers, but also funnel them to your social profiles or homepage.
Your "About" section allows you to explain what your business does as a glance and funnel traffic to your social links and homepage
Channel descriptions don’t have to be rocket science, though. A brief mission statement or welcome message is all that’s really necessary. If you want to include a few links or a call-to-action, go for it.
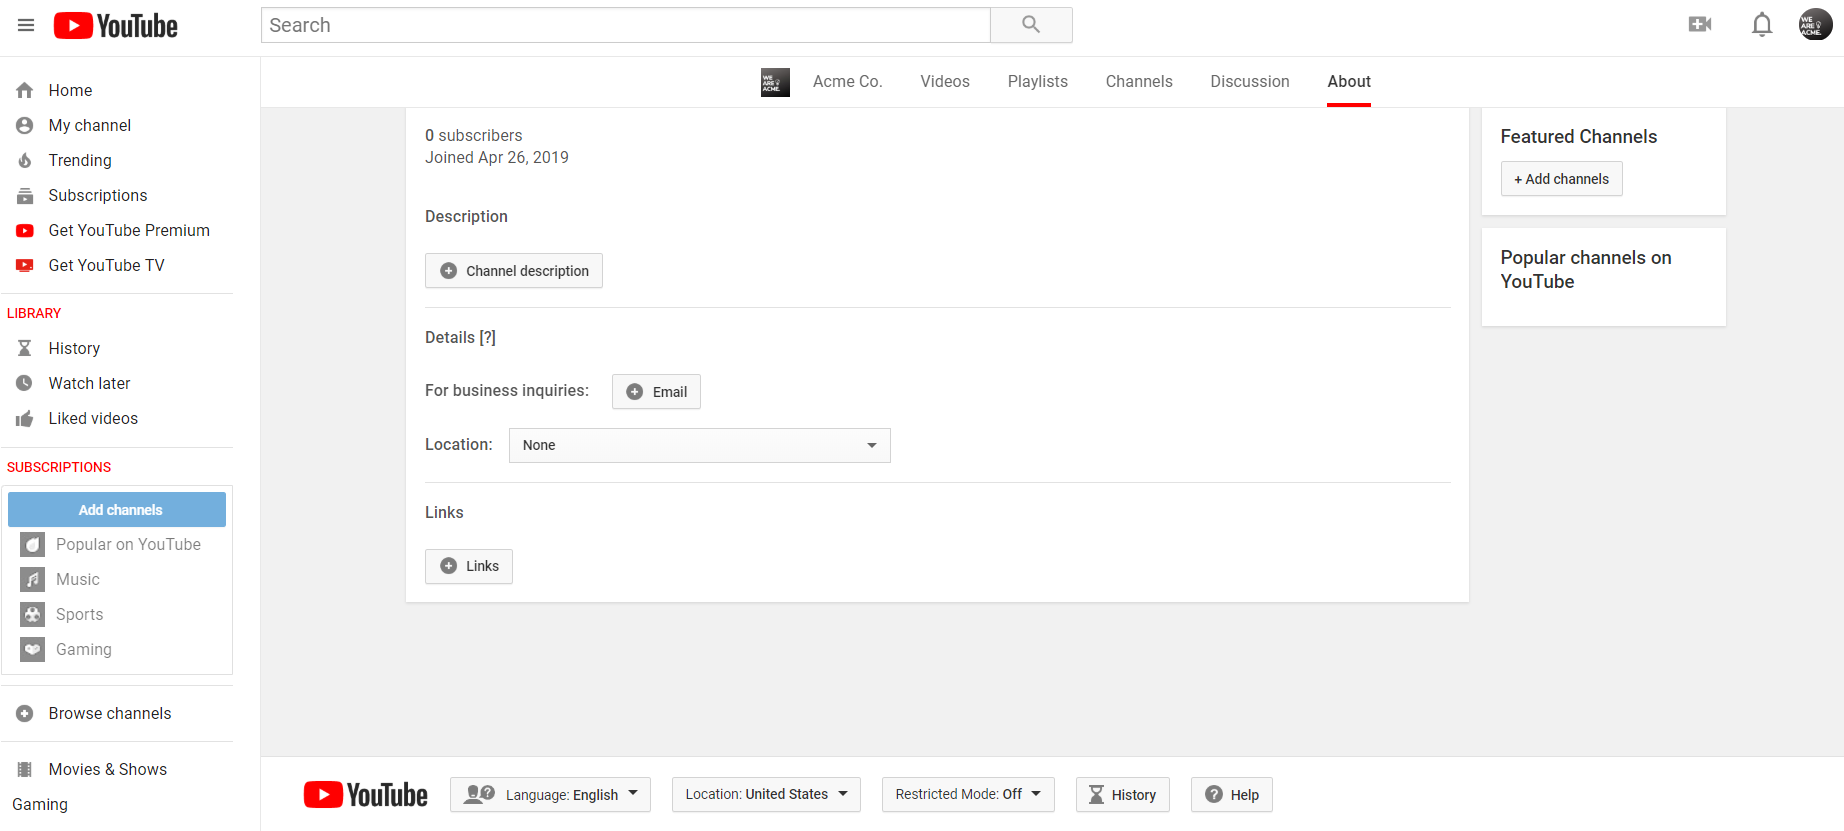
Oh, and don’t forget to add a business email as an extra point of contact.
Make sure to include a mission statement and relevant links in your YouTube channel description
The last piece of your description is arguably the most important. That is, adding in links to your homepage, social profiles and any other places you’d like your YouTube traffic to land. Including these links increases the chances of your traffic becoming long-term followers of your brand.
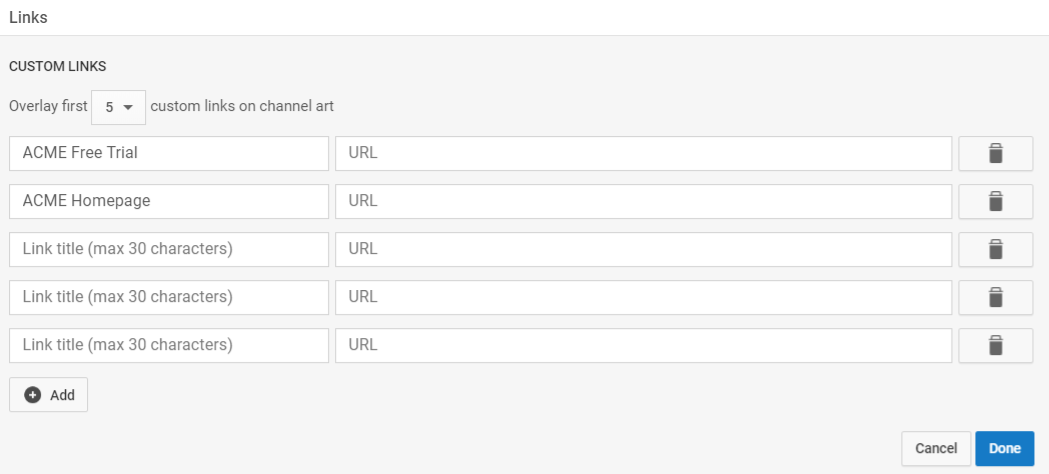
YouTube allows you to add up to five links and customizable hyperlink text up to 30 characters.
Businesses should add links to their YouTube accounts including their homepage, social profiles and/or a relevant landing page
 FINAL STEP :
 
After filling out the description, the end result looks something like this:
Here's a snapshot of an optimized channel description on YoUTube
As an added bonus, YouTube adds your site’s social links to your channel banner to make them even more accessible to viewers.
YouTube automatically populates social buttons based on your "About" links
Your description isn’t a place to stuff keywords, but rather let your viewers know the purpose behind your YouTube business channel and what you’re doing beyond the realm of YouTube.

Featured channels and activity

Just like any other social network, YouTube represents a community. Signaling yourself as an active participant in the community means following other channels, liking other videos and letting your viewers know that you’re involved in your industry.
Highlighting featured channels and “liked” videos is a subtle way to show your fellow YouTube creators some love. Likewise, it’s a smart strategy to make your YouTube business channel appear more active if you don’t plan on uploading frequently.
Featuring channels shows that your business is part of the larger YouTube community
Which channels should you feature and “like,” though? While there are no hard and fast rules about who to engage with, stick to these pointers:
  • Highlight industry leaders and influencers (hint: but not competitors)
  • “Like” the content of companies or creators that you admire or find entertaining yet relevant
  • Avoid any content that could be perceived as controversial or otherwise unrelated to your business
On that last point, try to keep things strictly professional in terms of activity on your YouTube business. If you want to “like” the latest Taylor Swift video or leave a comment on a political video, do so on your personal channel.
In your channel settings, make sure to have your subscriptions and “liked” videos set to public so viewers can see them.
By editing your privacy settings, you can allow users to see your "Liked videos and other channel activity
Your “liked” videos and subscriptions will be featured across your various profile tabs, which helps complete your profile.
Your YouTube activity, including likes and subscriptions, automatically populate across your channel
Now that your profile is ready for action, you can upload your first video and start publishing.
Uploading a video to YouTube is relatively straightforward and can be done via their Creative Studio

Regards
H4-HUSSAIN 

Saturday, April 11, 2020

How to Set Up a Google Blog for earning Money with H4-hussain

H4-Hussain

  • How to Set Up a Google Blog for earning Money

If you have some creative writing juice flowing through your veins, you may want to explore expressing them online by starting a blog. You can talk about just anything under the sun, from the latest movies or politics to your personal life. If you already have a Google account, setting a blog will be very easy on Blogger.  


Steps # 1


Step# 2
Log into your Google account. Under the sign-in box, type in your Gmail email address and password. This is your one Google ID for all Google’s services, including Blogger. Click the “Sign in” button to proceed.
  • Once you’re signed in, you will be brought to your main Blogger dashboard. All your blogs are found here. Blogs you follow can also be accessed from the dashboard.
  •  

step#3  Click “New blog.” You’ll find this under your Blogs section on the dashboard. After you click the button, the “Create a new blog” window will appear. It contains several fields you need to populate to define your blog. 


STEP#4

Enter a blog Title. The first field is for your blog title. Think of something creative and memorable for your title to attract readers. There’s a lot of blogs out there and you need to find your niche. Picking the perfect title can be hard, but it’s important. It’s your name, your brand, and your trademark. 

STEP#5 

Create your Address. Since you’re housing your blog on Blogger, you will have "blogspot.com" in your address. The name that goes before it is something you can control. You can use your title or part of it as your address. Similar to your blog title, your URL or Internet address needs to be unique and attractive. Make it memorable so that people can easily recognize and remember it. Type it in the second field. If the text you’ve entered is already taken, you will be notified since the address needs to be unique. 
STEP#6 
Pick a Template. The third section contains templates for your blog. Blogger has some good templates available to help you start your blog. Scroll through the available templates and pick one that suits your blog. Remember, you can always fine-tune your theme later.  


STEP#7

Create your blog. When you’re done, click the “Create blog!” button at the bottom of the window. You’re set. The blog is now created and you can start writing.


FINAL STEP : 
AFTER 30 BLOGS " JAB AAP 30 BLOGS BANA LEINGY TO YAHAN AAP KA ACTIVATION ACCOUNT SHOW HOGA " ADSENSE "


Regards
H4-Hussain